Votre panier est vide

Recipe for the thickest tub set homemade yoghurt ever!
Barb Hodgens
Barb Hodgens loves to cook with alternative, healthy whole food ingredients, with a focus on gut health. Barb has overcome her own gut health issues through healthy eating. Share your ideas, comments and photos at the end of this post :)

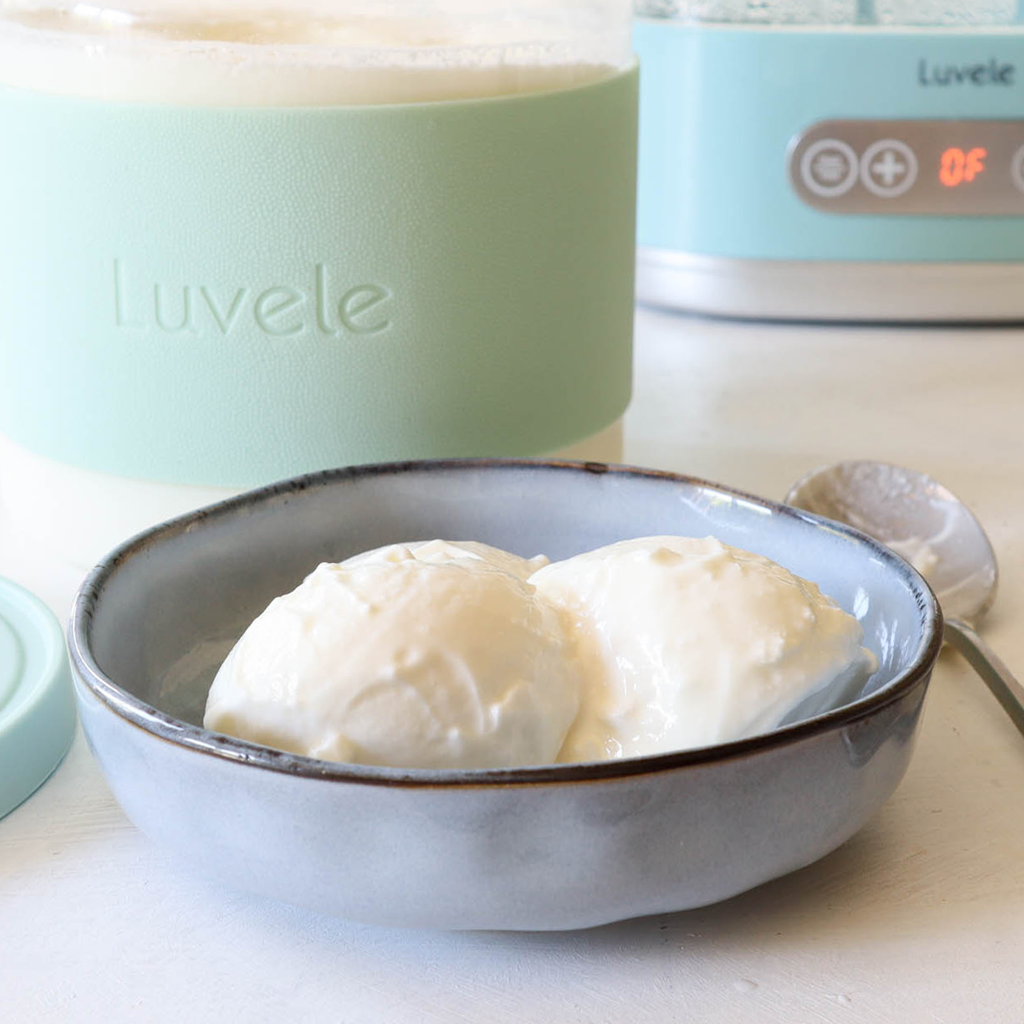
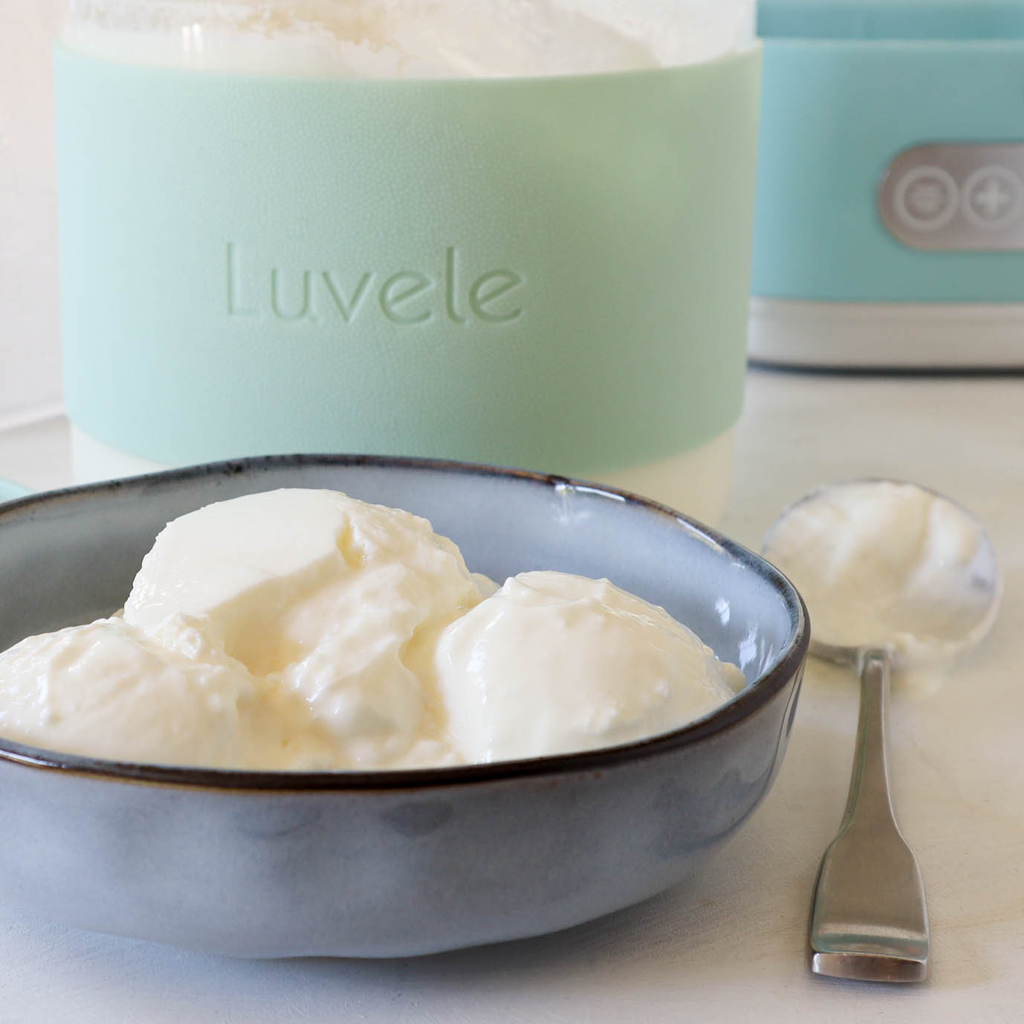
Yogurt that scoops like icecream!
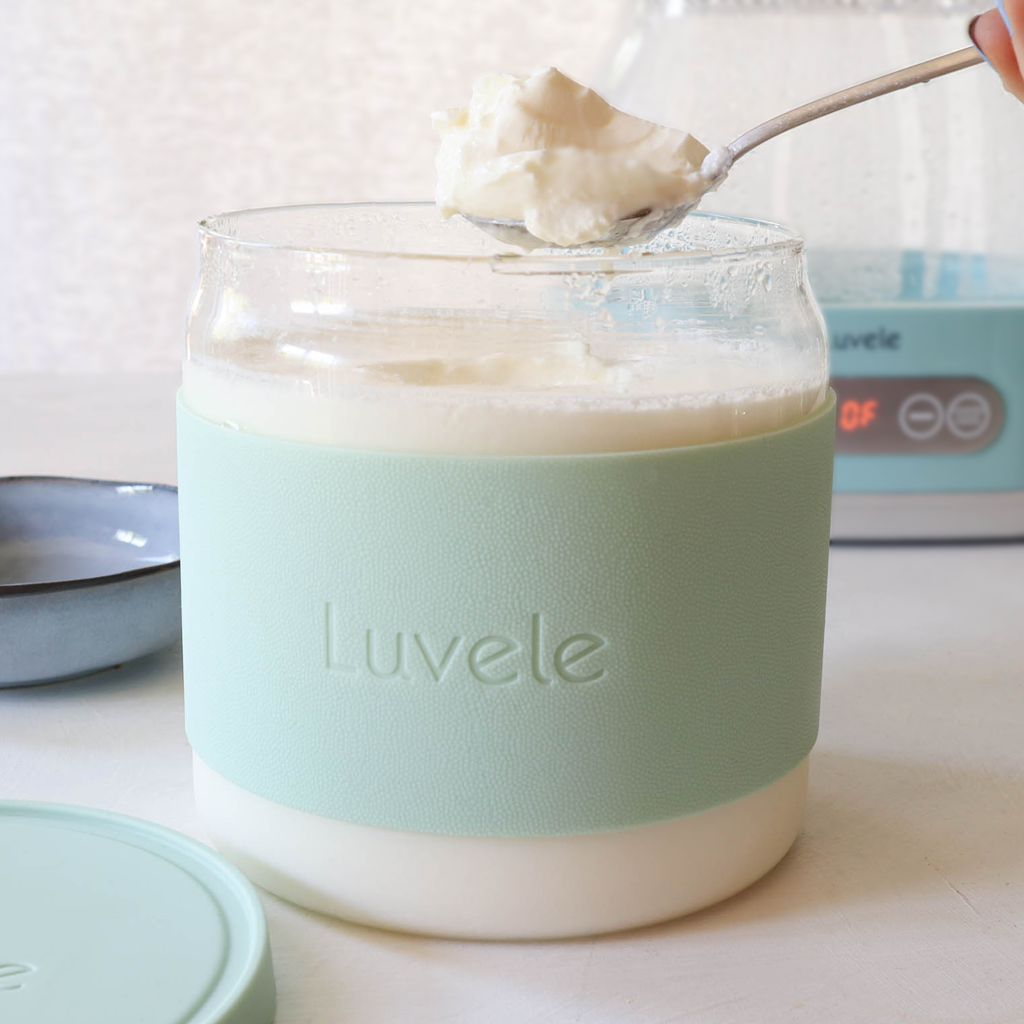
There’s nothing quite like the satisfaction of delving into a jar of yogurt and scooping out a perfectly set, thick, gelatinous spoonful of white yogurt.
Homemade cow milk yogurt is always thick and creamy in a Luvele maker, but did you know that you could make it even thicker? Even creamier! If you secretly long to make your yogurt so creamy that you could stand a spoon upright in it, then read on. The extra steps are very simple.

We briefly outlined the best ways to thicken thin dairy milk yogurt (including goat and raw milk) here. But to transform regular cow’s milk into the most thick, delicious probiotic yogurt you've ever tasted, we recommend you add these 2 extra steps to our original yogurt making method.

DRY MILK POWDER
The first and most effective way to get a better firmness in yogurt is to add dry milk powder to your full cream cow’s milk before heating. This increases the volume of milk solid proteins and results in an enriched and thicker yogurt composition. As a guide add 1/3 cup of dry milk powder to every litre of milk.
HEATING THE MILK LONGER
The second step requires heating and holding the milk at 82° C (180° F) for 20 minutes (or longer). Heating denatures the milk proteins, so they set together rather than form curds. Also, the little bit of evaporation that occurs during this extended heating contributes to the thickening process.

WATCH HOW IT'S MADE HERE
PREPARATION
Before you begin it is important to sterilise the Luvele yogurt making glass jar, lid and any utensils you use, in hot water. The danger of not sterilising is that other bacteria may overpower your starter culture and affect the quality of your yogurt.
INGREDIENTS
Full cream cow’s milk
1/3 cup of dry milk powder per litre of milk
Yogurt starter culture
METHOD
1. Measure Quantity
Measure the appropriate quantity of milk to fill your Luvele yogurt maker and pour into a large, clean saucepan. I have used 2 litres of milk with 2/3 cup of dry milk powder. Use the quantities to suit the capacity of your yogurt making jars.
2. Add the dry milk powder
Measure out 1/3 cup of dry milk powder per litre of milk and add it to the saucepan of milk. The dry milk powder will sit on the surface of the milk. Try your best to whisk it in. It will form clumps. Do not worry. Once heated the dry milk solids dissolve and incorporate.

3. Heat the milk to 82° C (180° F)
Stir the milk with a wire whisk as it heats so that the milk powder doesn’t settle and burn at the bottom of the saucepan. Heat the milk until just before it boils. Use a thermometer. The milk will swell and rise slightly at around 82° C (180° F).
4. Hold the heat for 20 – 30 minutes.
It can be a challenge to hold the milk at a high temperature for so long. Don’t get too caught up on the precise temperature. If the milk accidently boils briefly, don’t panic – reduce the heat and continue. Tips: Use a wok ring to create a distance between the flame and pot or use a double boiler pot filled with boiling water.

5. Cover the milk and let cool to below 42° C (107° F)
It is fine if the milk cools down well below 42° or even goes cold, it just mustn't be too hot. Temperatures above 43° C will kill the starter culture. The perfect temperature range for making yogurt is between 36° C (97° F) and 42° C (107° F).
As the milk cools, a layer of skin will form on the yogurt. Some yogurt recipes recommend taking this off. There is no harm leaving it in though. It does not produce lumpy yoghurt.
6. Pour the milk into the yogurt making glass jar
7. Add the starter culture and gently whisk it in.
Each starter culture will come with different instructions. Please follow the instructions unique to your starter culture and use the amount specified.

8. Incubate the milk.
Put the lid on the glass jar and place into your yogurt maker. Pour water slowly into the base. The water must not be filled over the ‘tall line’ indicated on the inside wall of the maker. Place the cover lid on top. Use the digital control panel to set the temperature to 38° C (100° F), the time to 24-hours and then press ‘confirm’ to begin incubation.
9. After 24 hours the fermentation is complete.
Switch the yogurt maker off. Condensation will have collected under the cover lid. Take care removing it and allow the water to drip into the water bath, instead of your bench!
10. Refrigerate
Remove the yogurt jar from the water bath. Straight from the maker the yogurt will be runny and warm. Depending on the milk you used, there may be a layer of cream on top of the yogurt. Place the jar in the fridge for at least 6 hours to chill and set. Be gentle with the warm yogurt and don’t stir it or else it won’t set in a perfect white mass.
Serve and enjoy

PIN THIS RECIPE


Recipe for the thickest tub set homemade yoghurt ever!

Yogurt that scoops like icecream!
There’s nothing quite like the satisfaction of delving into a jar of yogurt and scooping out a perfectly set, thick, gelatinous spoonful of white yogurt.
Homemade cow milk yogurt is always thick and creamy in a Luvele maker, but did you know that you could make it even thicker? Even creamier! If you secretly long to make your yogurt so creamy that you could stand a spoon upright in it, then read on. The extra steps are very simple.

We briefly outlined the best ways to thicken thin dairy milk yogurt (including goat and raw milk) here. But to transform regular cow’s milk into the most thick, delicious probiotic yogurt you've ever tasted, we recommend you add these 2 extra steps to our original yogurt making method.

DRY MILK POWDER
The first and most effective way to get a better firmness in yogurt is to add dry milk powder to your full cream cow’s milk before heating. This increases the volume of milk solid proteins and results in an enriched and thicker yogurt composition. As a guide add 1/3 cup of dry milk powder to every litre of milk.
HEATING THE MILK LONGER
The second step requires heating and holding the milk at 82° C (180° F) for 20 minutes (or longer). Heating denatures the milk proteins, so they set together rather than form curds. Also, the little bit of evaporation that occurs during this extended heating contributes to the thickening process.

WATCH HOW IT'S MADE HERE
PREPARATION
Before you begin it is important to sterilise the Luvele yogurt making glass jar, lid and any utensils you use, in hot water. The danger of not sterilising is that other bacteria may overpower your starter culture and affect the quality of your yogurt.
INGREDIENTS
Full cream cow’s milk
1/3 cup of dry milk powder per litre of milk
Yogurt starter culture
METHOD
1. Measure Quantity
Measure the appropriate quantity of milk to fill your Luvele yogurt maker and pour into a large, clean saucepan. I have used 2 litres of milk with 2/3 cup of dry milk powder. Use the quantities to suit the capacity of your yogurt making jars.
2. Add the dry milk powder
Measure out 1/3 cup of dry milk powder per litre of milk and add it to the saucepan of milk. The dry milk powder will sit on the surface of the milk. Try your best to whisk it in. It will form clumps. Do not worry. Once heated the dry milk solids dissolve and incorporate.

3. Heat the milk to 82° C (180° F)
Stir the milk with a wire whisk as it heats so that the milk powder doesn’t settle and burn at the bottom of the saucepan. Heat the milk until just before it boils. Use a thermometer. The milk will swell and rise slightly at around 82° C (180° F).
4. Hold the heat for 20 – 30 minutes.
It can be a challenge to hold the milk at a high temperature for so long. Don’t get too caught up on the precise temperature. If the milk accidently boils briefly, don’t panic – reduce the heat and continue. Tips: Use a wok ring to create a distance between the flame and pot or use a double boiler pot filled with boiling water.

5. Cover the milk and let cool to below 42° C (107° F)
It is fine if the milk cools down well below 42° or even goes cold, it just mustn't be too hot. Temperatures above 43° C will kill the starter culture. The perfect temperature range for making yogurt is between 36° C (97° F) and 42° C (107° F).
As the milk cools, a layer of skin will form on the yogurt. Some yogurt recipes recommend taking this off. There is no harm leaving it in though. It does not produce lumpy yoghurt.
6. Pour the milk into the yogurt making glass jar
7. Add the starter culture and gently whisk it in.
Each starter culture will come with different instructions. Please follow the instructions unique to your starter culture and use the amount specified.

8. Incubate the milk.
Put the lid on the glass jar and place into your yogurt maker. Pour water slowly into the base. The water must not be filled over the ‘tall line’ indicated on the inside wall of the maker. Place the cover lid on top. Use the digital control panel to set the temperature to 38° C (100° F), the time to 24-hours and then press ‘confirm’ to begin incubation.
9. After 24 hours the fermentation is complete.
Switch the yogurt maker off. Condensation will have collected under the cover lid. Take care removing it and allow the water to drip into the water bath, instead of your bench!
10. Refrigerate
Remove the yogurt jar from the water bath. Straight from the maker the yogurt will be runny and warm. Depending on the milk you used, there may be a layer of cream on top of the yogurt. Place the jar in the fridge for at least 6 hours to chill and set. Be gentle with the warm yogurt and don’t stir it or else it won’t set in a perfect white mass.
Serve and enjoy

PIN THIS RECIPE


Subscribe
Sign up to get the latest on sales, new releases and more …
Item is added to cart


