Votre panier est vide


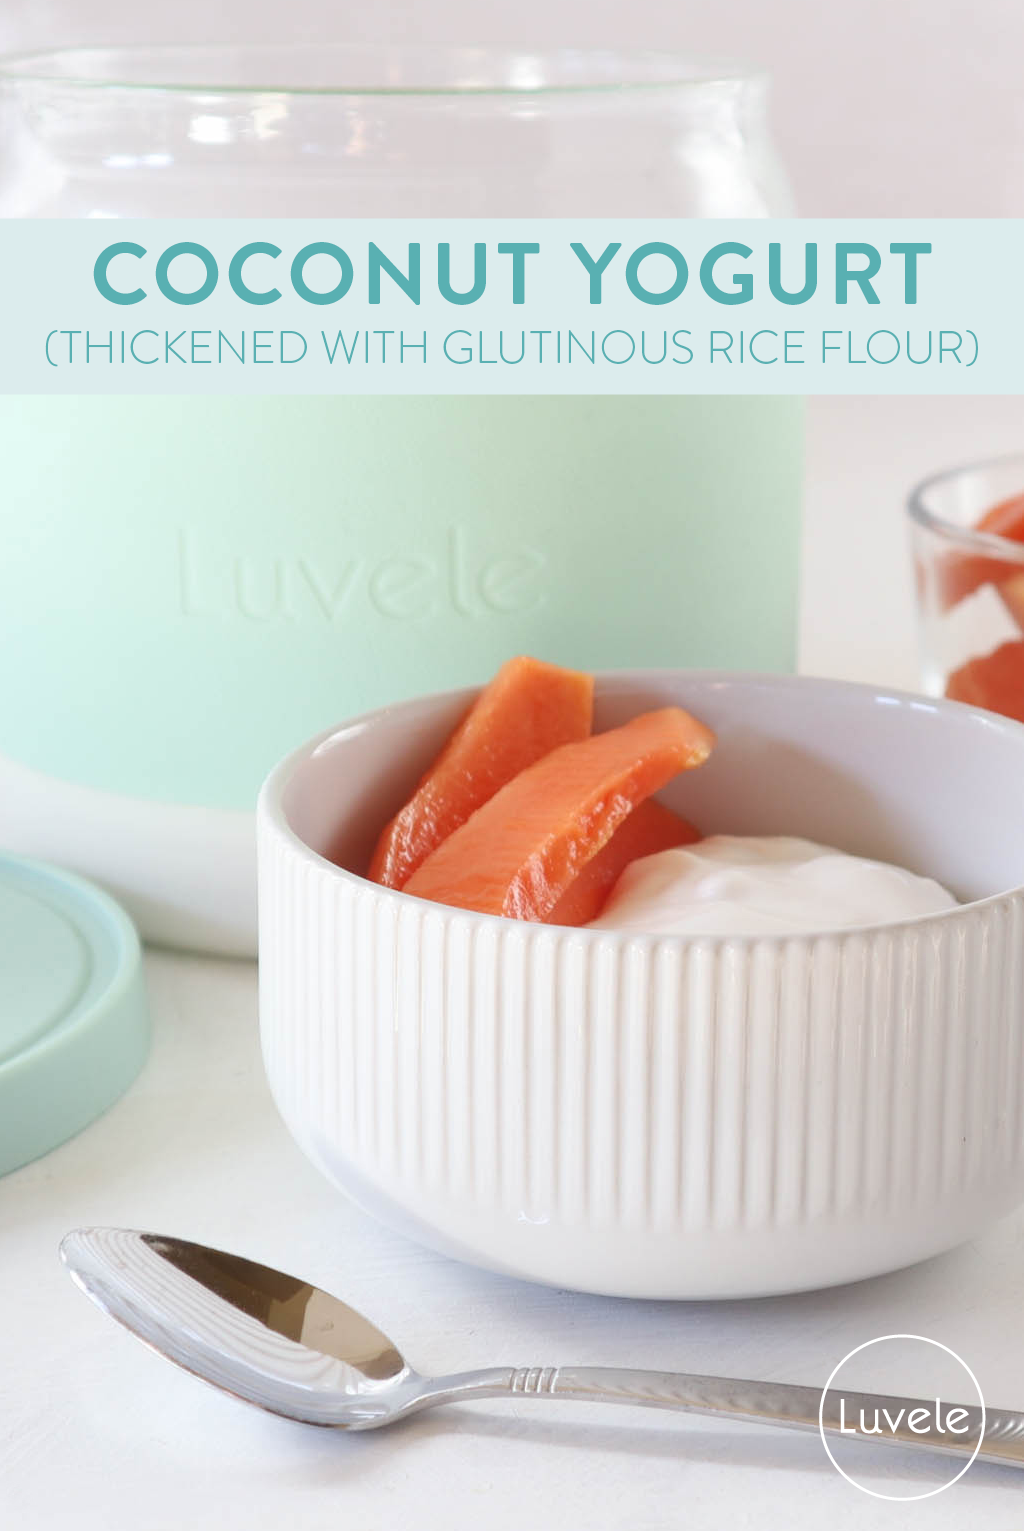
Coconut yogurt thickened with glutinous rice flour

Easy method, awesome texture!
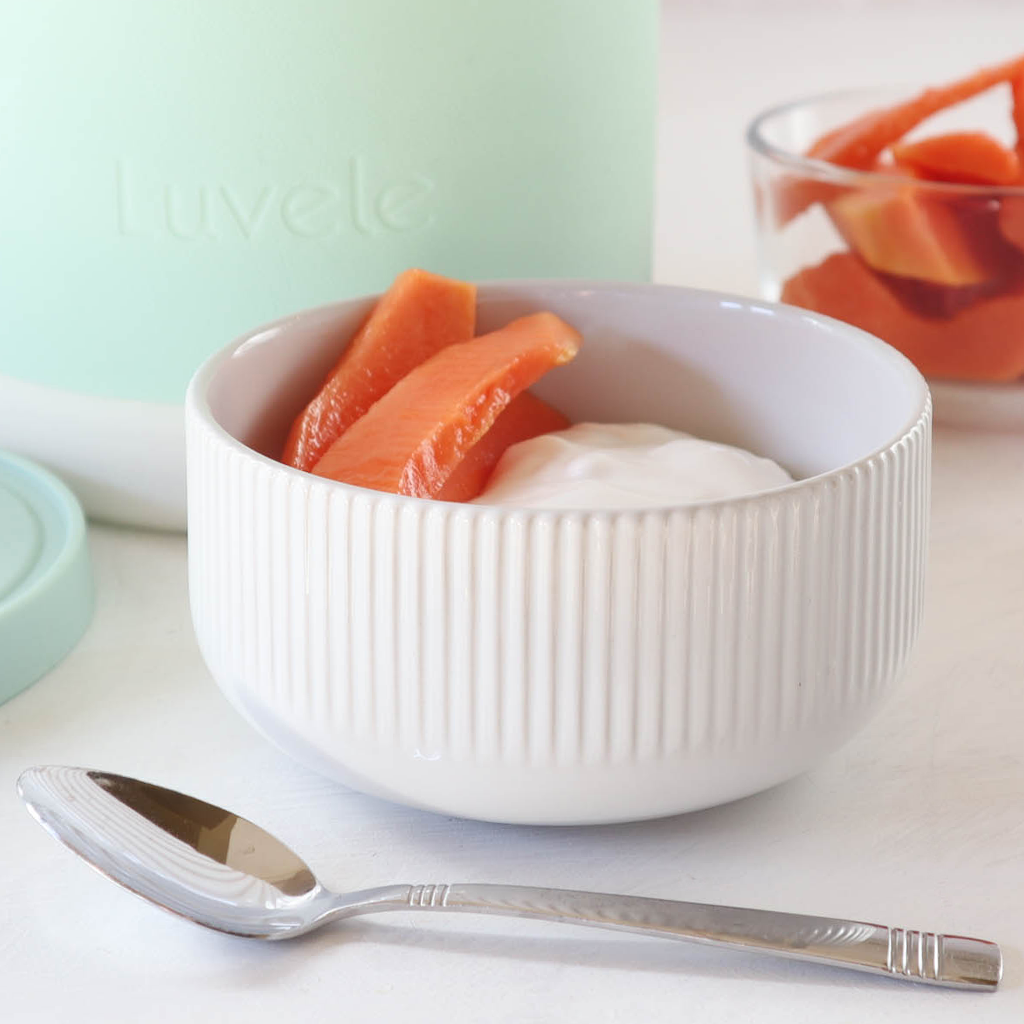
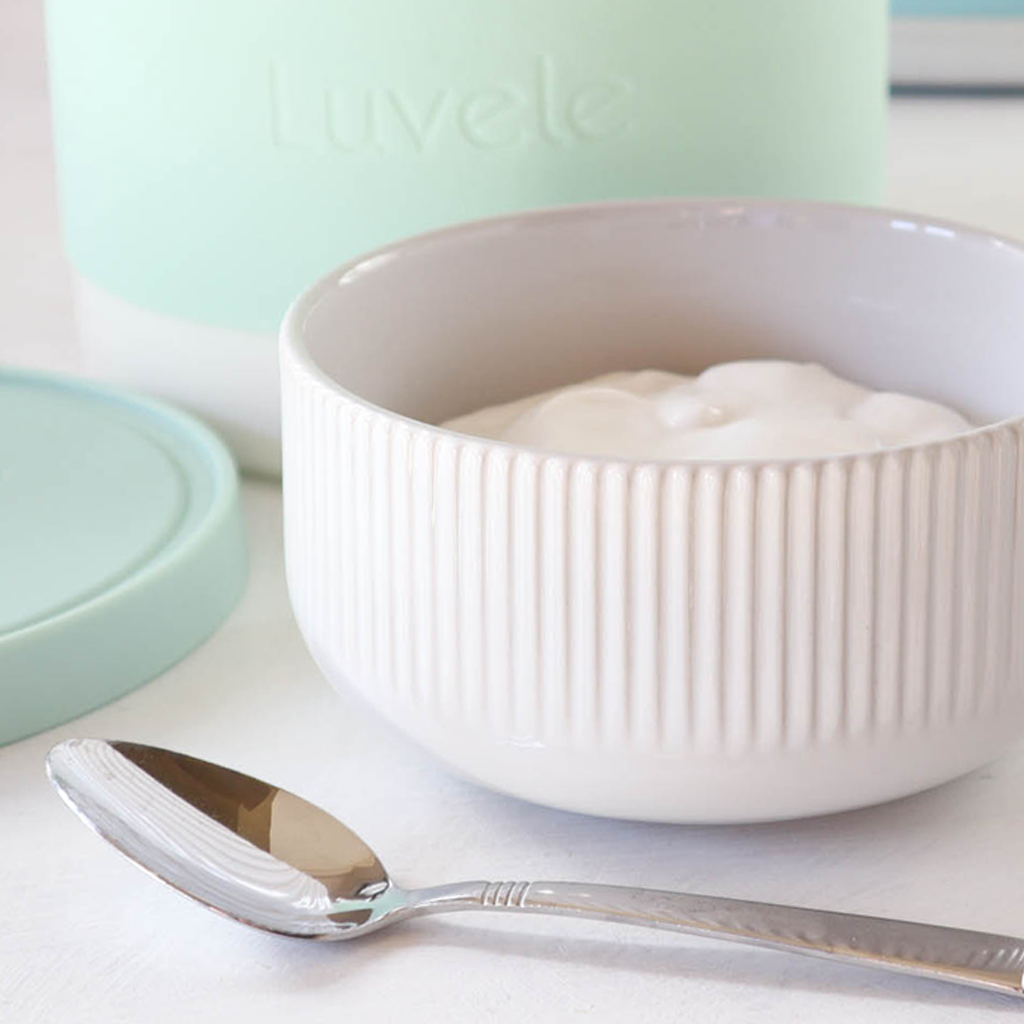
If you are finding homemade coconut yogurt a challenge, this coconut yogurt thickened with glutinous rice flour is a game-changer. The consistency, texture and mouth feel is comparable to all the top store-bought coconut yogurt brands out there, however without the mysterious ingredients and unwanted plastic. Making it at home with a good quality starter you are also seeding your jar with far more probiotic bacteria than anything you can buy at the store.
WHAT IS GLUTINOUS RICE FLOUR?
Glutinous rice flour is made from ground short-grain sweet white rice, it’s also known as sweet rice flour or sticky rice flour and is a popular ingredient in many Asian desserts and savoury snacks. The term ‘glutinous’ refers to its characteristic consistency and texture and does not contain gluten. This variety of rice flour is starchier than regular rice flour, it’s super white, fine, and powdery, and after cooking becomes gel-like and thickens.
Confusing as the name may be, sweet rice flour does not contain sugar, it simply refers to the type of rice it is made from. It has a neutral, slightly milky taste that is ideal for yogurt making. Unlike other starchy flours, which need to be added in the form of a slurry, glutinous rice flour can be mixed directly into liquid without clumping. It also homogenises fats which is a big bonus with coconut milk yogurt as it prevents the separation of coconut water and cream.
You’ll find glutinous rice flour in the Asian section of your supermarket. We used 1 tablespoon (10g) per 400mL can but add a little more to achieve a thicker consistency if you prefer. The taste and consistency of canned coconut milk varies greatly from brand to brand and depending on the fat/water ratio, you may need to adjust the quantity accordingly. Adding more will not affect the taste of your coconut yogurt.
STARTER CULTURE
You will need a yogurt starter culture to introduce the fermentation of bacteria to the coconut milk. Use the amount of starter culture indicated on the packet. We used Nourish Me Organics pure coconut starter culture but any dairy-free starter may be used.
FEED THE BACTERIA SUGAR
In traditional dairy milk yogurt, the bacteria in starter culture thrive on the sugar (lactose) content, naturally found in milk. The bacteria populating your coconut yogurt must have something to feed on to allow the culturing process to take place. One teaspoon of sugar or one tablespoon of pasteurised honey is enough to kick start fermentation. Raw honey may have an antibiotic effect and is therefore not suitable for making yogurt.
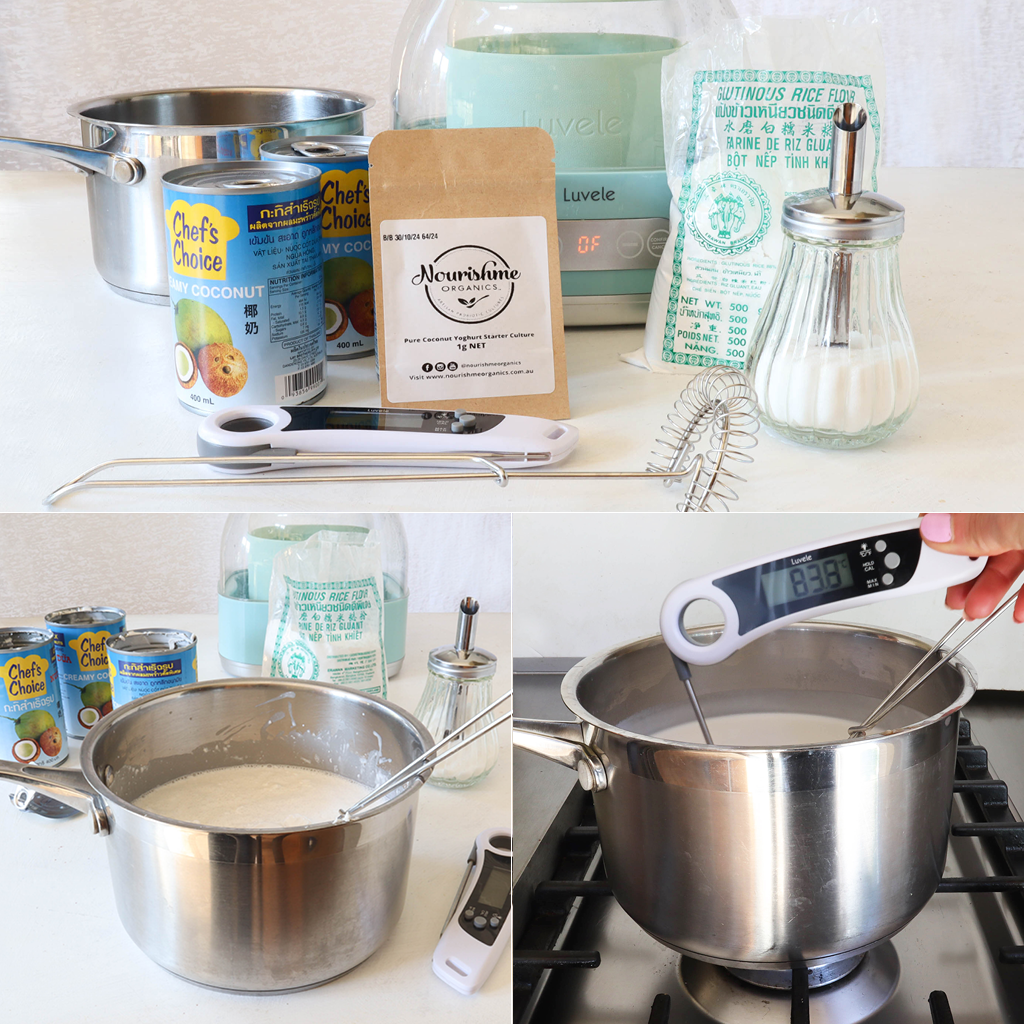
INGREDIENTS
1 tablespoon / 10g of glutinous rice flour (see notes for variables)
3 x 400mL cans of coconut milk
1 teaspoon of sugar
Yogurt starter culture
DIRECTIONS
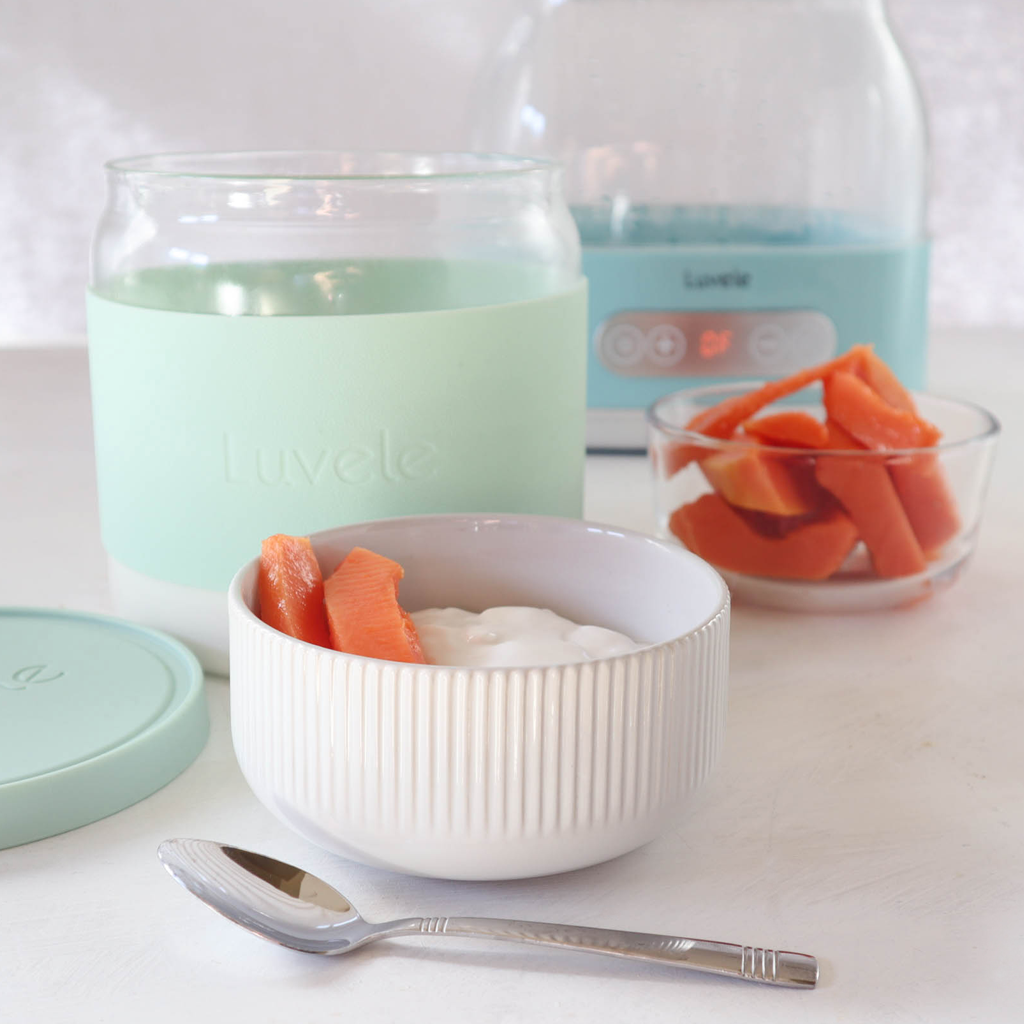
1. Before you begin it is important to sterilise the Luvele yogurt making glass jar, lid, and any utensils you use, in hot water. Pouring boiling water over everything is sufficient. The danger of not sterilising is that other bacteria may overpower your starter culture and affect the quality of your yogurt.
2. Open the tins and pour the coconut milk into a saucepan.
3. Add the glutinous rice flour and sugar and whisk it in.
4. Gently heat the coconut milk. Whisk continuously as it heats to avoid clumping. The coconut milk will thicken as it heats. Heat to approx. 80°C / 175°F or just before it boils. The mixture is forgiving. A thermometer is not essential, as you can feel it thicken and determine when to remove it from the stove.
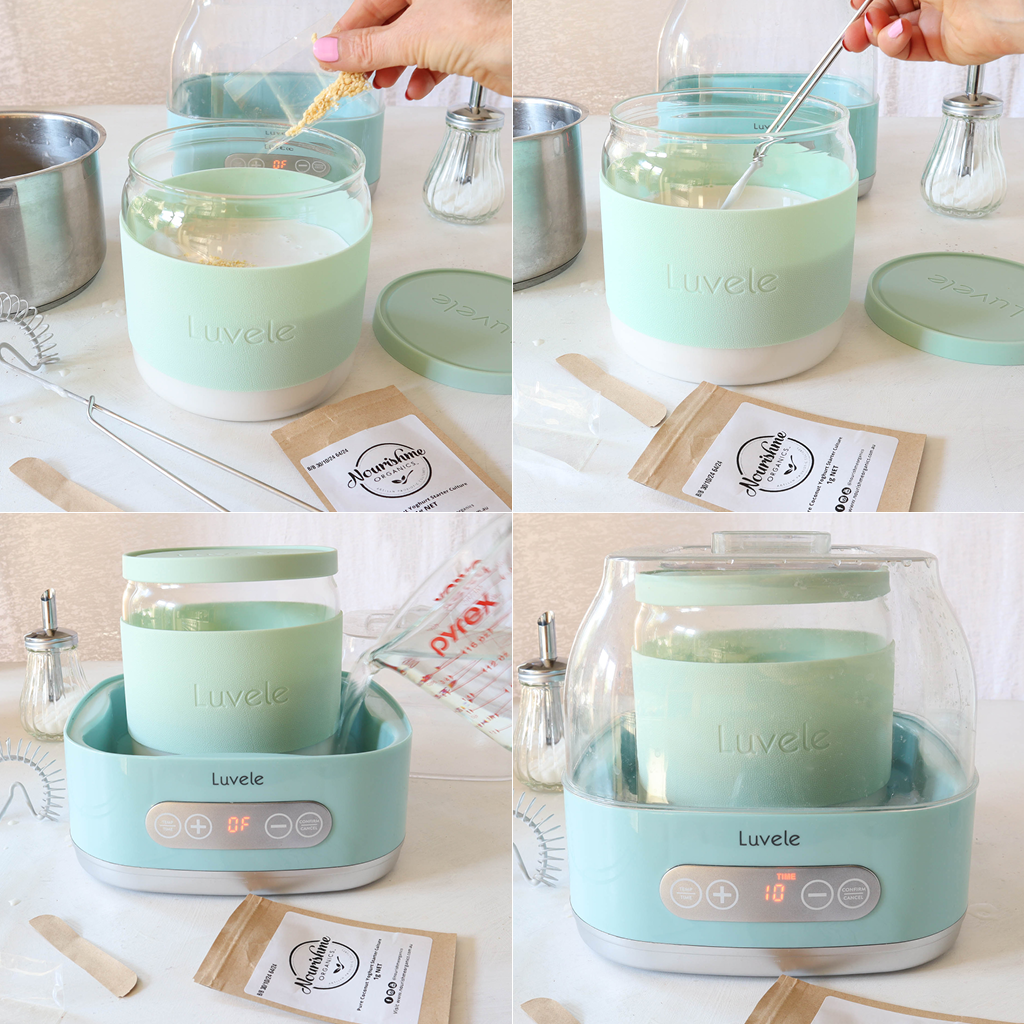
5. Set the saucepan aside to cool to 110° F (43° C). It is fine if the coconut milk cools down below 43°, it just mustn't be too hot when adding yogurt starter culture or probiotics. Temperatures above 43° C will kill the bacteria.
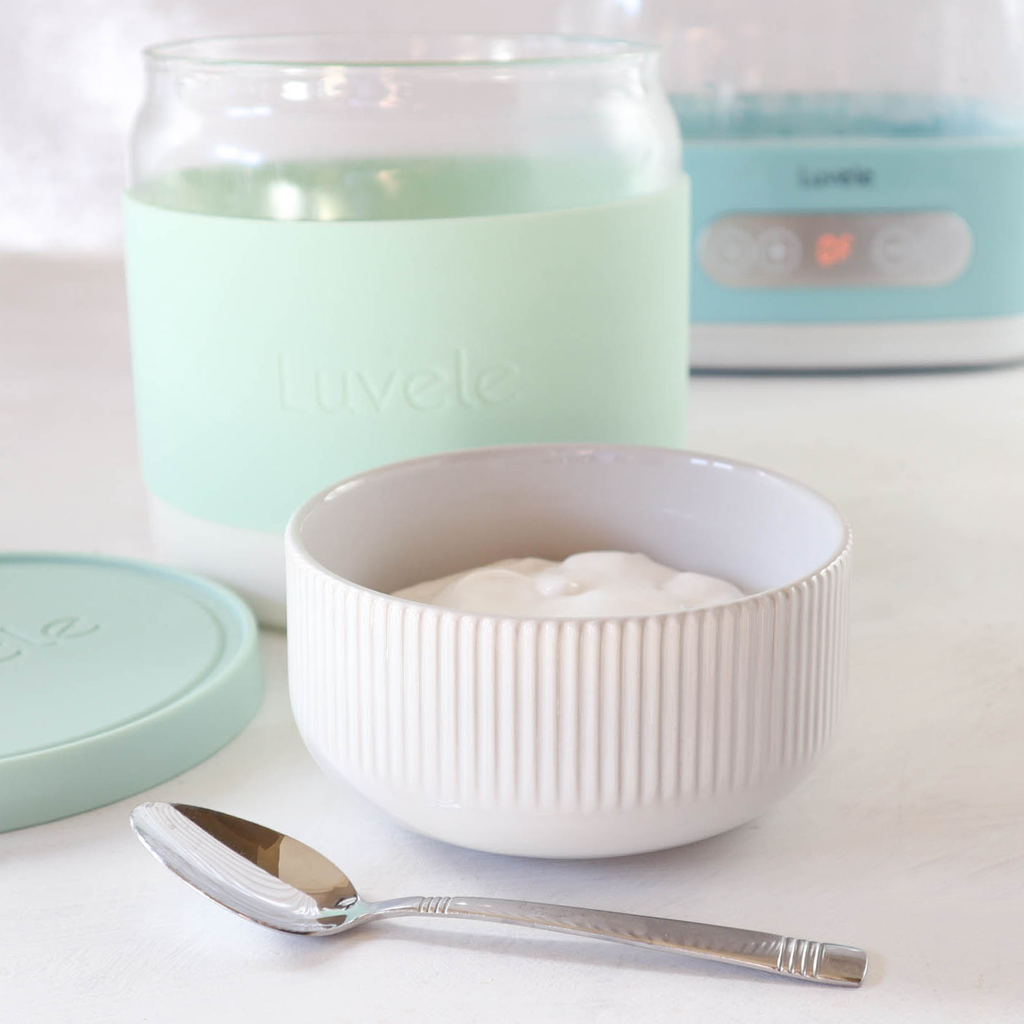
6. Pour the coconut milk into the glass yogurt making jar.
7. Add the starter culture and gently stir it in.
8. Put the lid firmly on the jar and place into your yogurt maker. Pour water slowly into the base. (The water must not go above the ‘tall line’ indicated on the inside wall of the maker). Place the cover lid on top.
9. Use the digital control panel to set the temperature to 38° C, the time to 10 hours and then press ‘confirm’ to begin incubation.
10. When complete, the coconut yogurt will be warm. Place the jar in the fridge for at least 6 hours to chill and set and then enjoy.
PIN THIS RECIPE

Item is added to cart